Crafting with a hot glue gun is one of the simplest and most affordable ways to create beautiful projects quickly and easily. Whether you’re making something for yourself or as a gift, a glue gunscan make all your crafty dreams come true. In this article, we’ll go through the basics of using a hot glue gun for crafting and DIY projects.
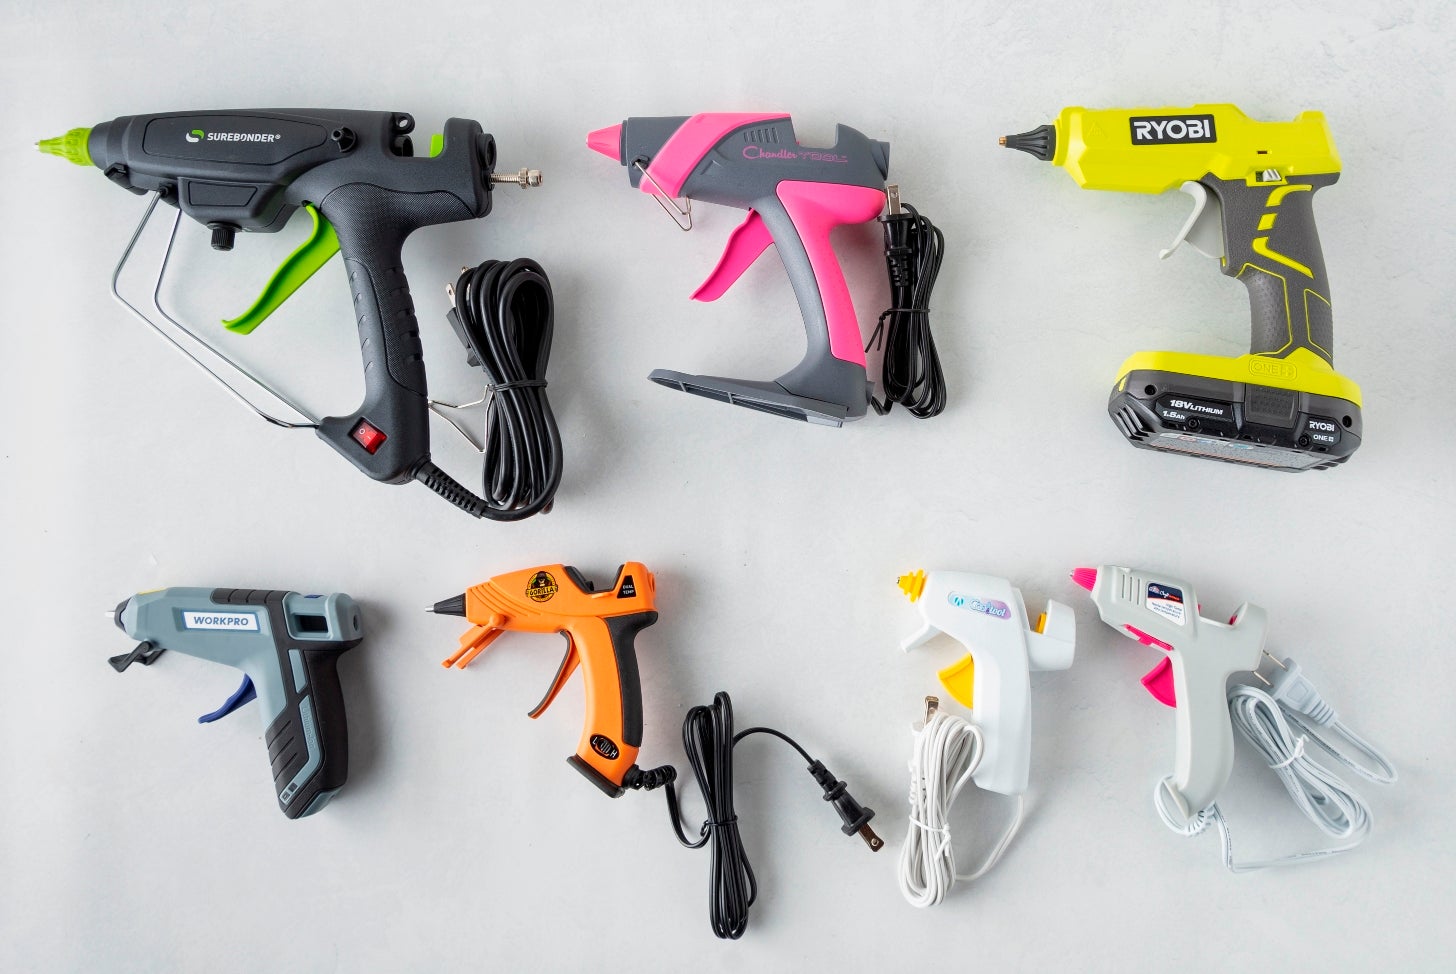
First, you’ll need to get the right type of glue gun. Generally, there are two types: low temperature and high temperature. Low-temperature guns are best for working with delicate materials like paper and fabric, while high-temperature guns can handle materials like plastic, metal, and wood. Be sure to pick the right one for your project.
Next, you’ll want to make sure you have the right type of glue sticks. Hot glue guns use either mini or full-size glue sticks, so be sure to check what size your gun takes before buying any. Most craft stores carry a variety of sizes and colors, so you can find something to match your project.
Choosing the Right Glue Gun
The first step in successfully completing any craft project is choosing the right supplies. When it comes to hot glue guns, there are two main types: high-temperature glue guns and low-temperature glue guns. High-temperature glue guns are best for heavier materials such as wood, metal, or plastic, while low-temperature guns are better suited for lighter materials like paper and fabric. For most crafting projects, a low-temperature gun will do just fine.
Safety First!
Before beginning any project with your hot glue gun, it’s important to remember that safety should always be your top priority. Hot glue guns get very hot—up to 400°F—so it’s important that you avoid touching the nozzle or heated metal surface of your gun at all times. Always wear protective gloves when handling your hot glue gun and keep children away from the area while you’re working with it.
Getting Set Up
Before you begin crafting with your hot glue gun, make sure that you have everything set up correctly and ready to go. Plug in your gun and allow it time to heat up; this generally takes about five minutes. Once the indicator light on your gun turns on (or off), then you know that it is ready for use. Make sure that you have plenty of extra sticks of adhesive on hand so that you don’t run out in the middle of your project!
Applying Glue
Once your gun is heated up, you can begin applying adhesive to whatever materials you need to join together for your project. It’s important to remember that the adhesive needs time to cool down before adding additional layers or doing anything else with it; if not given enough time, things won’t stick properly or could even melt! Generally speaking, giving each layer at least 10 minutes between applications should do the trick!
Using a hot glue gun is an easy way to craft beautiful projects quickly and easily without breaking the bank on expensive tools or supplies. With these tips in mind, you should be able to use your new tool with confidence! Just remember: safety first! Wear protective gloves when handling your hot glue gun and keep children away from areas where there may be melted adhesive present during use. Now get out there and start crafting! Good luck!